This is what I'm wearing today. You can't see it very well, but the skirt is black and hits just below the knees. It's very cute and I got it from my sister, Sarah. The red sweater is extrafine merino wool and it's my FAVORITE. I wear it alot! I'm wearing black tights and black chunky loafer style shoes. Hey, I just noticed ... my hair is down. LOL =) The outfit needs something ... perhaps a scarf or necklace. I'll need to look for an accessory the next time I'm at the thrift store.
God Bless,
ERIN =)
Wednesday, April 30, 2008
Tuesday, April 29, 2008
TUTORIAL ~ Fabric Grocery Bag
Mother's Day is coming up in a couple weeks and a fabric grocery bag (or 2 LOL) would make a lovely gift for any mother, grandmother, aunt or special friend. If you are like me, you have everything you need for this project stashed in your sewing room so all it requires is a little time. If you decide to make one, I'd love to hear how it turned out. If you find any mistakes in the instructions, please let me know.
Pattern Piece Sizes
FRONT & BACK: Cut (2) 18" wide X 16" tall (includes seam allowance)
Cut out from 2 corners 3 1/2" X 3 1/2" squares (this will form the boxed corner)
HANDLES: Cut (2) 6" wide X 16" long (includes seam allowance)

Cut (2) Front and Back from outer fabric
Cut (2) Front and Back from lining fabric
Cut (4) Front and Back from interfacing
Cut (2) Handles from outer fabric

Start with the handles by pressing each one in half with wrong sides together.

Press this in third's starting with the long raw edge side.

Press folded long edge up to cover raw long edge.
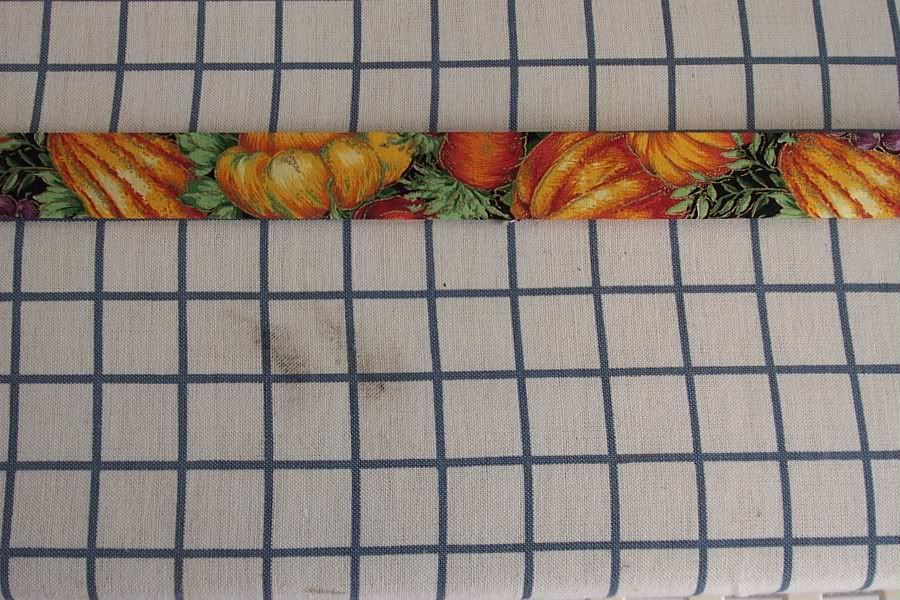
Topstitch close to both long edges and down the middle. You could topstitch a piece of ribbon down the center, too, if you wanted the handles to be stiffer.
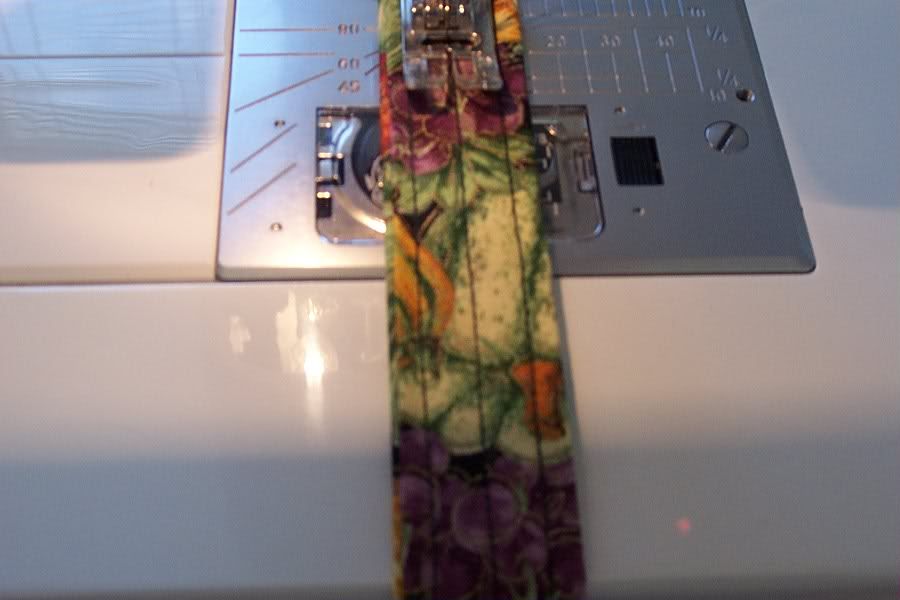
Apply interfacing to wrong sides of both lining and outer fabric.
I usually just fuse tack the edges b/c it is faster and easier (ie. I am LAZY ;-)).
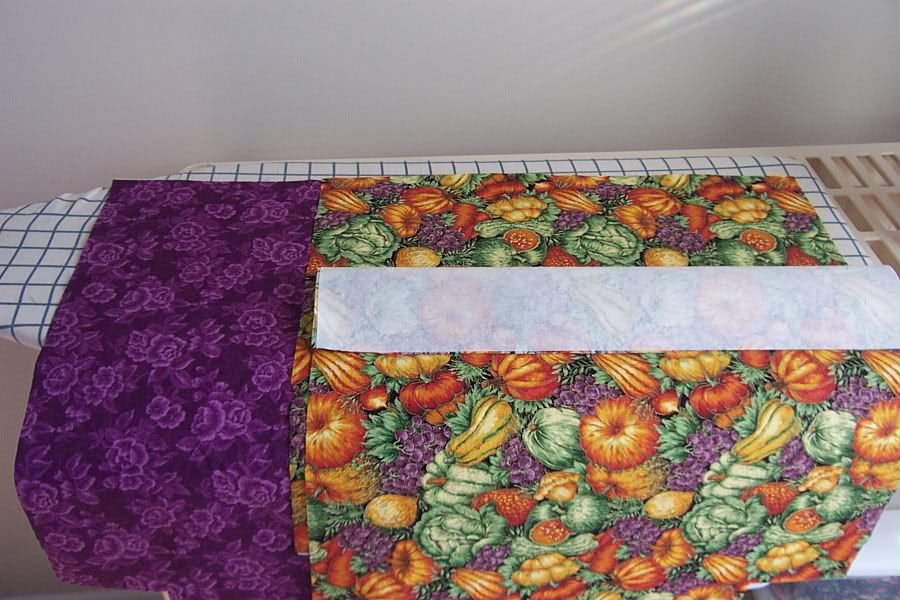
Sew side seams on both lining and outer fabric. Press seams open.
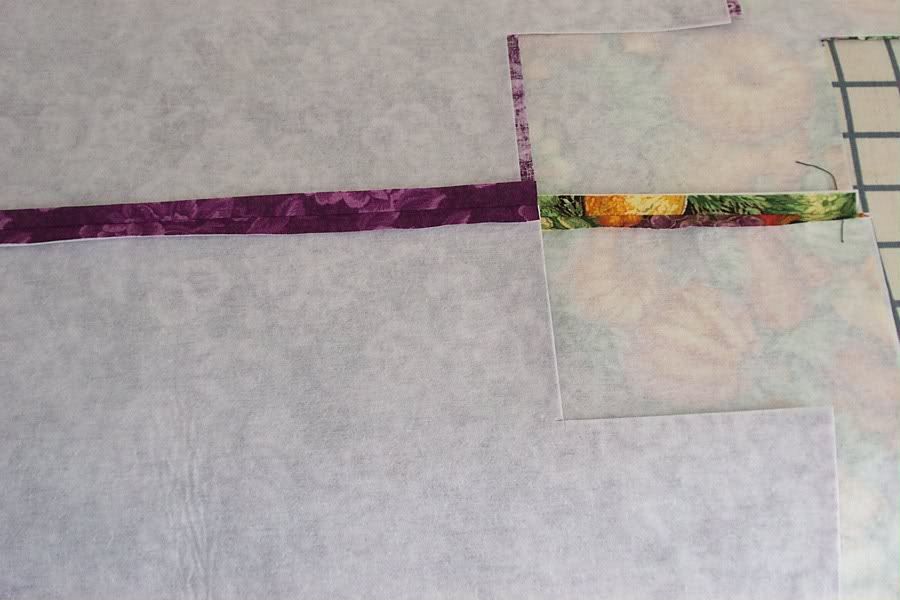
Stitch bottom seam on both the lining and outer fabrics.
Press seams open the best you can. It's difficult to do this without a sleeve board.

Fold so raw edges of box corner are aligned and pin seam.
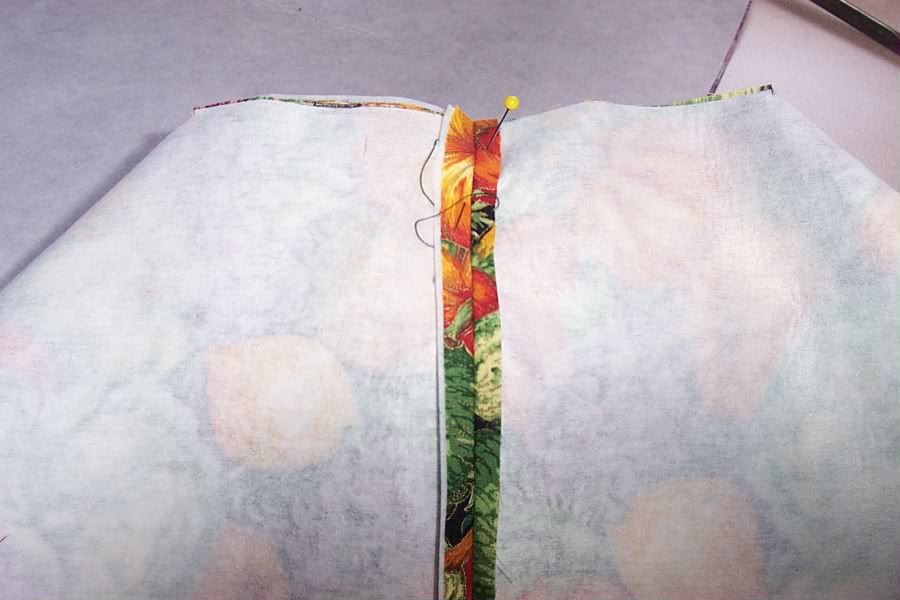
Sew across to form boxed corner. Repeat for all corners.
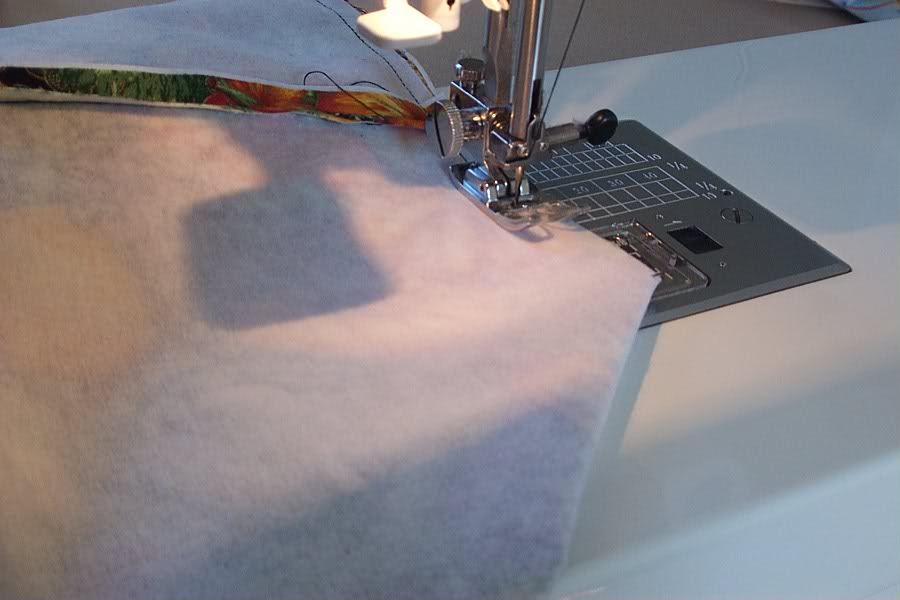
Mark handle placement - 6" in from side of bag (not the seam).
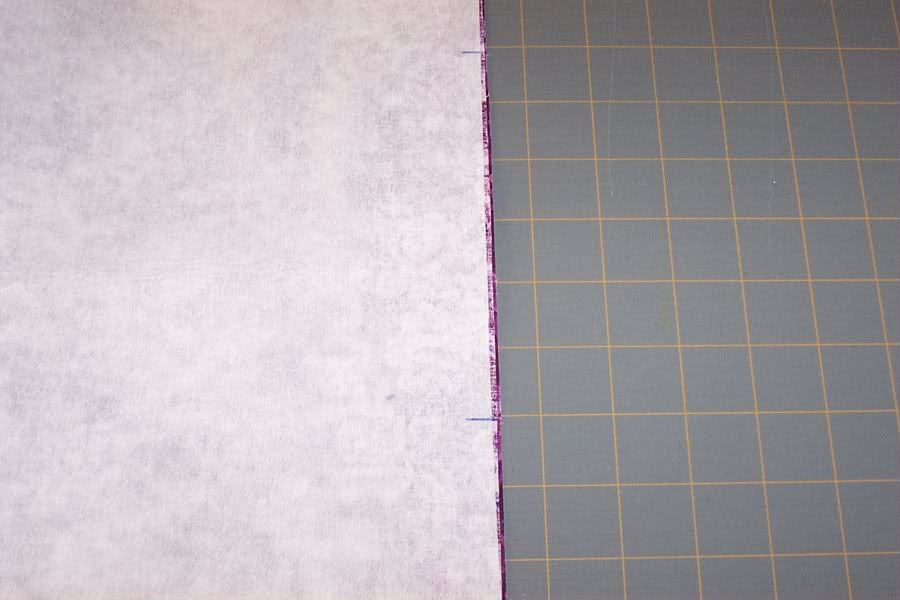
Pin handles by aligning center topstitching with placement mark.
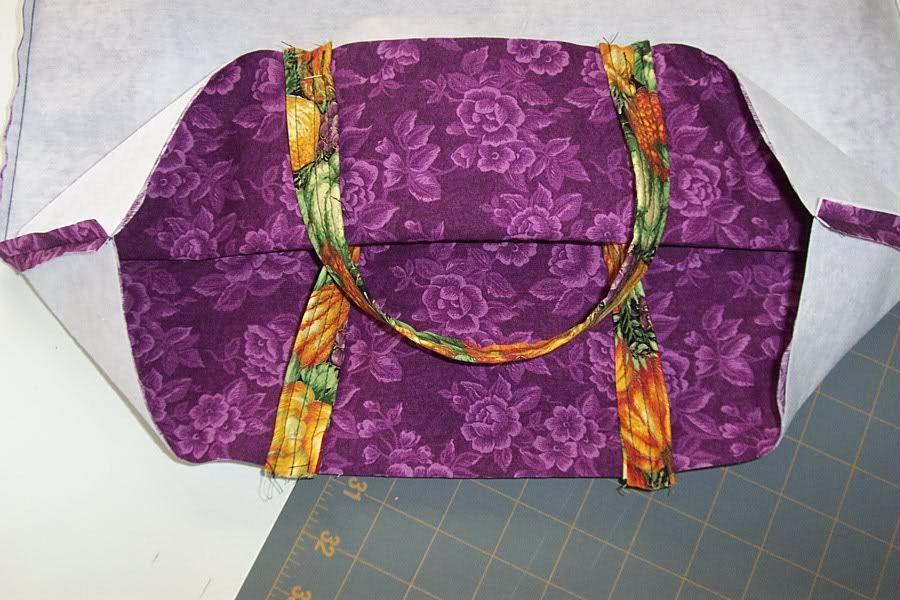
Slip bag outer into bag lining so that right sides are together.
Pin liberally (or not at all :))
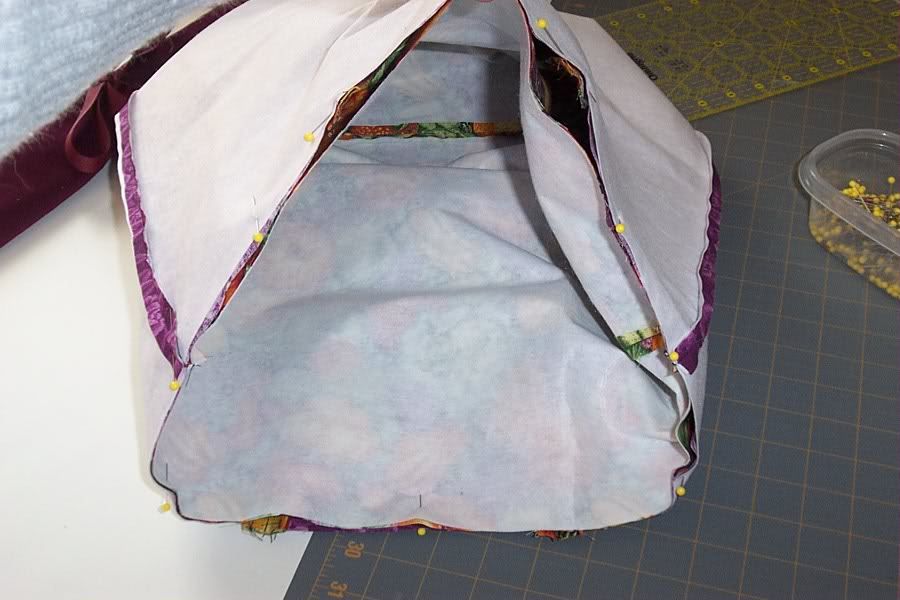
Stitch together, remembering to leave an opening for turning.
I like to leave it between the handles on one side.
Backstitch copiously at the beginning and end.

Oh look!! A bag is about to be born. :)

This doesn't look like a bag???

Tuck lining into bag by sticking your hands far into the corners.

Press top edge of bag well.

Topstitch turning opening closed.

Topstitch 1" from top of bag.
You could also add a solid ribbon accent if you want to make the top of the bag stiffer.
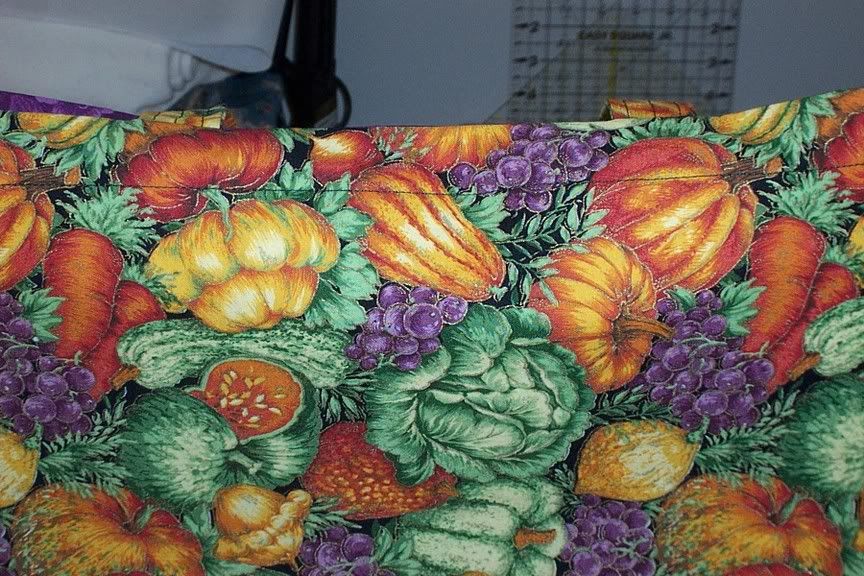
Topstitch close to the folded edge on all four corners.
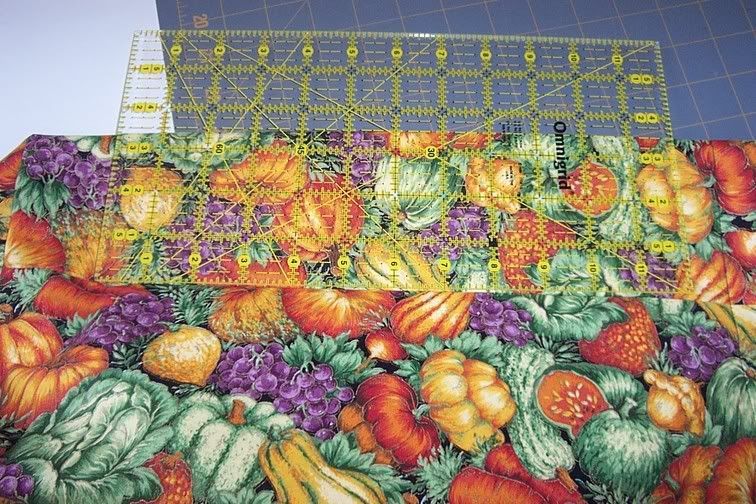
I always measure (3.5"), pin, press, and sew.
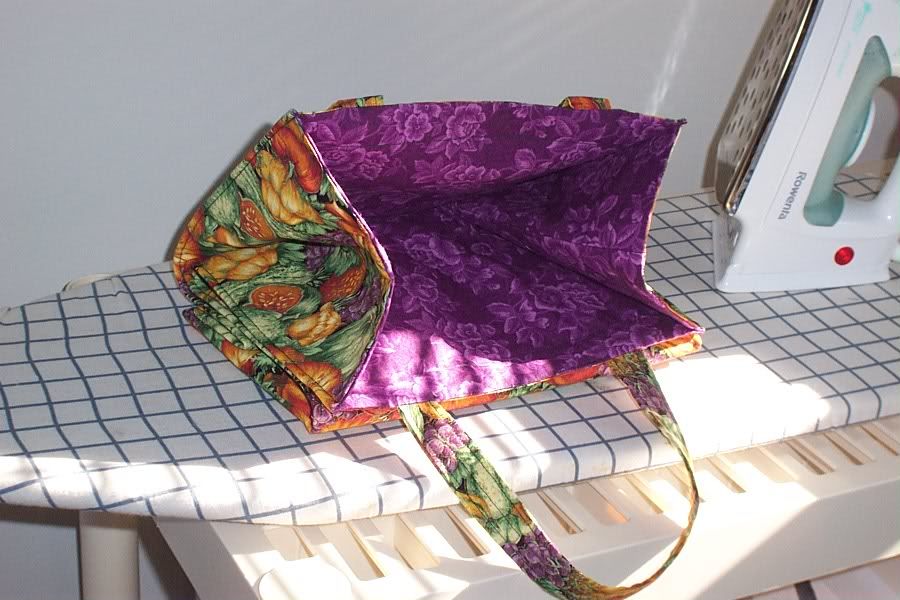
Fabric Grocery Bag - folded
Friday, April 25, 2008
TUTORIAL ~ Lazy-Dazy Lasagna
3/4 to 1 pound ground hamburger, cooked and drained
1 jar of commercial spaghetti sauce OR 2 1/2-3 cups homemade sauce
1 large carton small curd cottage cheese
2 eggs
1 large handful Parmesan cheese
1 small handful dried parsley
Several healthy dashes of black pepper
Uncooked lasagna noodles
1 package shredded mozzarella cheese
9x13 Pyrex baking dish
Aluminum foil
Mix cooked hamburger and spaghetti sauce together in one bowl.
Mix cottage cheese, 2 beaten eggs, Parmesan cheese, parsley, and black pepper together in another bowl.

Scoop approximately 1/3 of the spaghetti sauce mixture into the bottom of a 9x13 baking dish.
1 large carton small curd cottage cheese
2 eggs
1 large handful Parmesan cheese
1 small handful dried parsley
Several healthy dashes of black pepper
Uncooked lasagna noodles
1 package shredded mozzarella cheese
9x13 Pyrex baking dish
Aluminum foil
Mix cooked hamburger and spaghetti sauce together in one bowl.
Mix cottage cheese, 2 beaten eggs, Parmesan cheese, parsley, and black pepper together in another bowl.

Scoop approximately 1/3 of the spaghetti sauce mixture into the bottom of a 9x13 baking dish.

Next comes the first layer of uncooked lasagna noodles. These are normal lasagna noodles - 79 cents a box when on sale. Mine are short because I break them in half to fit in my glass jar.

Scoop on your second layer of spaghetti & meat mixture.
Use approximately half of what remains in the bowl.
This is your last layer of uncooked lasagna noodles.
Spread on the rest of the cottage cheese mixture.
A rubber spatula works well to get every last bit out of the bowl.

Spoon the last of the spaghetti sauce mixture on top of the cottage cheese mixture. At this point I dribble 1/2 cup water around the edges. This extra moisture is what allows the raw noodles to cook in the oven. It looks odd in the dish but it really works. =)

Sprinkle approximately 2 cups shredded mozzarella cheese on top.

Preheat oven to 375 degrees.
Cover dish with foil and bake 45 minutes.
Uncover and bake 15 minutes.
Let stand 10 minutes before serving.
It will be easier to cut and lift from the dish if you do.

Last but not least ... my Kitchen Princess!

I hope you enjoy this recipe as much as we do in our family. If you have any questions, please leave them in the comment section.
God Bless,
ERIN
God Bless,
ERIN
Grocery Shopping with the Amish
My friend Sue and I had a girl's day out to Lancaster County. We made a couple stops at an Amish variety store and a fabulous quilt shop, but our objective for the day was Centerville Bulk, an Amish run grocery store. This is what I got:

This isn't ALL mine -- I took orders from my sister Sarah and from a friend at church. Are you curious how much it all cost? Leave a comment with your guess. Next Monday I'll edit this post with the total and the person with the closest guess wins a small care package (vitamin c drops, hand lotion, notecards, and whatever goodies I decide to add).
God Bless,
ERIN
4 bags Ricola elderberry vitamin c drops
9 pounds parboiled rice
35 pounds brown rice
24 pounds rolled oats
37.5 pounds raw sugar
33 pounds quick oats
1.34 pounds walnuts
small container bay leaves
small container cream of tartar
small container poppy seeds
3 pounds whole wheat pasta
1.5 pounds black cocoa powder
1.34 pounds mini choco chips
5 pounds semis sweet choco chips
5.5 pounds baking soda
5 pounds table salt
4.25 pounds light brown sugar
3.5 pounds tri-color rotini
3 pounds plain bread crumbs
3 pounds seasoned bread crumbs
16.5 pounds raisins
10 pounds gold and light pastry flour
10 pounds unsweetened coconut flakes
1 pound OTC crackers
1 pounds seasoned croûtons
.64 pounds sliced almonds
1 pound whole almonds
1.5 pounds baking powder

God Bless,
ERIN
Wednesday, April 23, 2008
Off-the-Counter Paper Towel Holder
Oh yeah - Oh yeah - I'm so clever! (Can you see me doing a little dance? =) ) It's a little thing but I have wanted my paper towels up off the counter top since we moved into our house 6 years ago. I tried a stand alone paper towel thingy that someone gave me but I didn't like it. So I thought ... and I thought ... and I thought some more and came up with this:

Stainless steel paper towel holder from Wal*Mart = $5.63
Package of 4 large round magnets from Home Depot = $1.97
Realization that the PT holder and microwave are both metal (no glue needed) = priceless!
I love it!
God Bless,
ERIN

Stainless steel paper towel holder from Wal*Mart = $5.63
Package of 4 large round magnets from Home Depot = $1.97
Realization that the PT holder and microwave are both metal (no glue needed) = priceless!
I love it!
God Bless,
ERIN
Beautiful, Uplifting, & Inspirational Music
 I enjoy having a bit of "background" music playing softly during my early morning quiet time, while cleaning and cooking, and during meals. A couple weeks ago I ran across these 4 CD's at my local Dollar Tree store, of all places. Two of them are piano only and the other two are piano and guitar. They are absolutely lovely and a wonderful addition to my music collection!
God Bless,
ERIN
Tuesday, April 22, 2008
Abigail is Four =)
Monday, April 21, 2008
Pictures of Abigail
Thursday, April 17, 2008
Modest Mommy Outfit #2
 This is not what I started the day out wearing. I wore a skirt Tuesday and Wednesday so I thought I'd just wear jeans today. I ran some errands after dropping Abigail off at school and I just didn't feel comfortable. As soon as I got home, I whipped off the jeans and hopped into this outfit. Aaaahhhhh, much better! The white cami I'm wearing under my pink cardigan isn't quite high enough so I threw on the scarf at the last minute to cover my décolletage (my, my don't I have a fancy vocabulary LOL) and I really like the way it looks. =) I'm amazed how this "skirt thing" is really growing on me and becoming more comfortable.
God Bless,
ERIN
MMMMMeatloaf
Meatloaf, mashed potatoes, and corn was on the docket for dinner last tonight. It happens to be Mr. K's all-time FAVORITE meal.

Here is the recipe that I used:

Here is the recipe that I used:
Robbyn's Meatloaf
(This recipe comes from a OAMC website)
2 pounds ground beef
1 cup oatmeal
1 egg
1 envelope onion soup mix
1/2 cup milk
1 carrot, grated
Blend milk and carrot to pulp. Mix with remaining ingredients. **Here is where I diverged from the original recipe and tried something new.** I shaped the meat mixture into a free form loaf in a 9x13 Pyrex dish and slathered the top with ketchup. I poured water into the Pyrex dish so that the bottom of the meatloaf was covered with water by about 1/2 inch. This was not an original idea but something I learned at Tammy's Recipes. Bake for 2 hours at 300 degrees. Let sit 5-10 minutes before slicing.
Mr. K's response ...
"This is the best meatloaf I've ever eaten!" What was that, dear, I don't think I heard you correctly? "This is the best meatloaf I've ever eaten!" LOL I had him say it three times. =) What you see above is a leftovers lunch all ready for Mr. K to take to work.
God Bless,
ERIN
Wednesday, April 16, 2008
Dutch Girl's Top 10 Cleaning Products
Some of these are more natural then others but they are what I use to get the job done!
I'd love to hear what are your favorite cleaning products. Perhaps there is something I should try. =)
God Bless,
ERIN
- Vinegar - I use it in the my washing machine in lieu of fabric softener.
- Parson's Lemon Scent Sudsing Ammonia - I mop my linoleum floors with this. It's cheaper then Pin Sol and I like the scent much better.
- Murphy's Oil Soap - I use this to wipe down my kitchen cabinets once a month just like my grandmother did. The scent brings me back to my childhood.
- Borax - I started using Borax when I was washing cloth diapers instead of using bleach. Now I use it on my whites and towels.
- Microfiber cloths - I use these on my Swiffer instead of the disposable kind. I do recommend you pick off the big dust bunnies before throwing it in the washing machine to prevent any clogged hoses. =)
- Birdseye flat diapers - My all time favorite rag. They are large, thin, absorbent, soft, and cheap. I have a dozen that I purchased at the Thrift store for $2. =)
- Baking soda + dish soap - I just discovered this make-at-home soft scrub last week and it works REALLY well. Wet the sink, sprinkle on a tablespoon baking soda, add a squirt of dish soap (or hand soap or shampoo), mush it into paste with the corner of your sponge and clean away. It rinses clean without the chalky residue of Comet.
- Scrubbing Bubbles - This is the most toxic item on this list but it's the only product that keeps our shower clean. It must be the way our bathroom vents but our shower grows pinkish slim very easily (sorry for TMI).
- Windex - This is toxic item #2 on my list and I plan on switching to vinegar + water once I've used up my Windex supply. But it does make my mirrors sparkling clean.
- Castile Soap - I fill one side of my kitchen sink with warm water, add a generous glugg of this, and wipe down all my appliances and countertops. It smells so good and is very gentle on my hands.
I'd love to hear what are your favorite cleaning products. Perhaps there is something I should try. =)
God Bless,
ERIN
Saturday, April 12, 2008
Italian Cooking Sauce
 Making a pot 'o' sauce is lovely Saturday morning project. It only takes 5-10 minutes of prep and an hour of low simmer to make. It is very freezer or canning friendly. The recipe comes from ... you guessed ... Make A Mix by Karin Eliason:
Italian Cooking Sauce
2 (14.5 ounce) cans stewed tomatoes, pureed (I just buy crushed tomatoes)
4 (8 ounce) cans tomato sauce
2 cups water
2 (6 ounce) cans tomato paste
2 tablespoons dried minced onion (I usually saute' 1/2 a finely minced onion in a bit of EVVO)
2 tablespoons parsley flakes
1 tablespoon salt
2 tablespoons cornstarch
4 teaspoons dried green pepper flakes (I can't find these so I just saute' 1/2 a finely minced green pepper along with the onion)
1/4 teaspoon garlic powder
1 1/2 teaspoon Italian seasoning
Saute onion and green pepper in a bit of EVVO until onion is translucent in a large stock pot or Dutch oven. Add remaining ingredients and simmer for a minimum of 15 minutes, but an hour is better. Cool. Divide into freezer containers (or can it in a water bath). Makes 6 pints.
I use this sauce for Lasagna, Homemade Meatballs, and Pizza Sauce. It tastes so much better then store-bought sauce and very easy to make.
God Bless,
ERIN
(PS - That is a picture of the sauce I made on Saturday)
Subscribe to:
Comments (Atom)


