Mother's Day is coming up in a couple weeks and a fabric grocery bag (or 2 LOL) would make a lovely gift for any mother, grandmother, aunt or special friend. If you are like me, you have everything you need for this project stashed in your sewing room so all it requires is a little time. If you decide to make one, I'd love to hear how it turned out. If you find any mistakes in the instructions, please let me know.
Pattern Piece Sizes
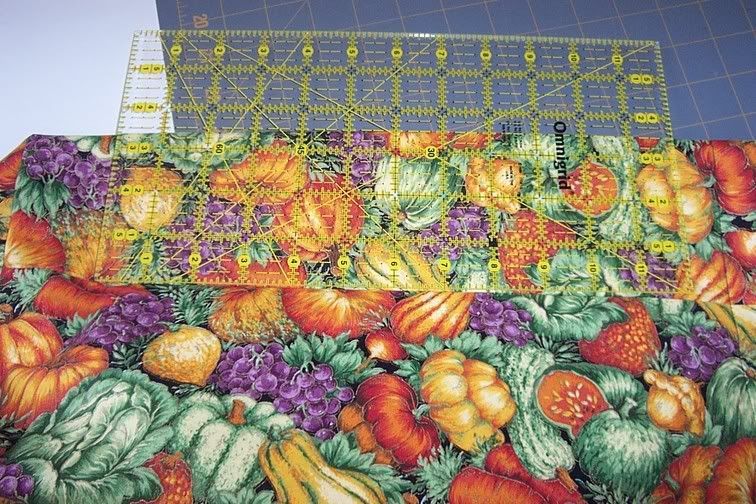
FRONT & BACK: Cut (2) 18" wide X 16" tall (includes seam allowance)
Cut out from 2 corners 3 1/2" X 3 1/2" squares (this will form the boxed corner)
HANDLES: Cut (2) 6" wide X 16" long (includes seam allowance)

Cut (2) Front and Back from outer fabric
Cut (2) Front and Back from lining fabric
Cut (4) Front and Back from interfacing
Cut (2) Handles from outer fabric

Start with the handles by pressing each one in half with wrong sides together.

Press this in third's starting with the long raw edge side.

Press folded long edge up to cover raw long edge.
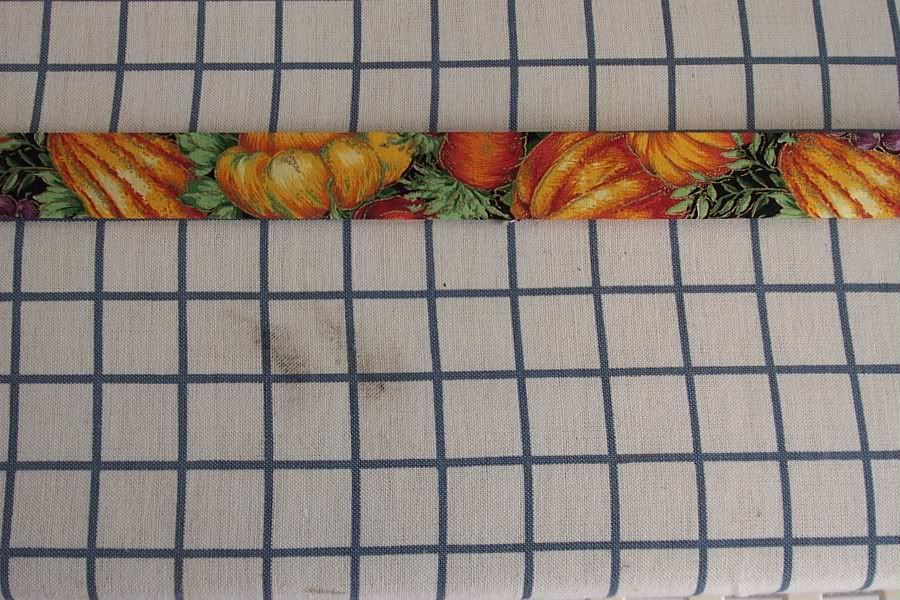
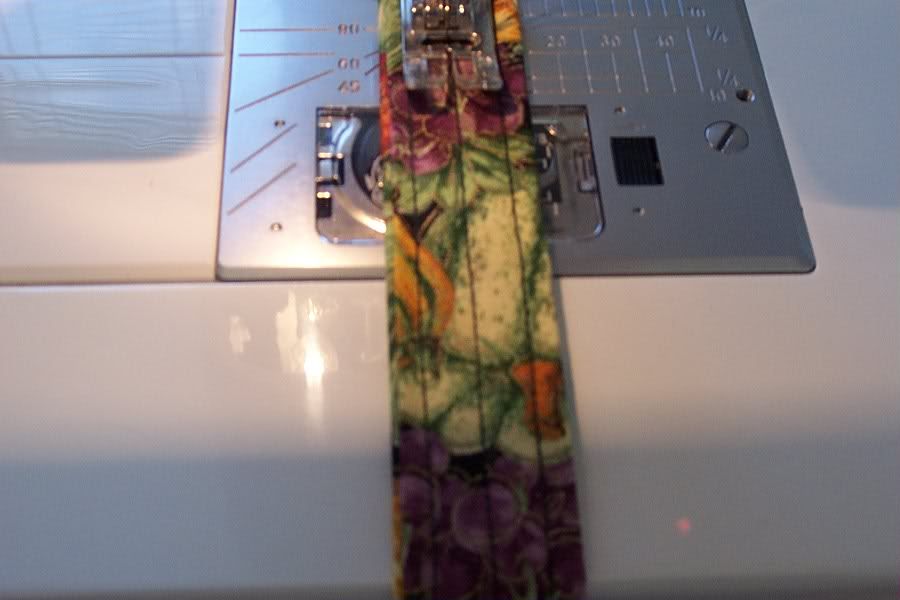
Topstitch close to both long edges and down the middle. You could topstitch a piece of ribbon down the center, too, if you wanted the handles to be stiffer.
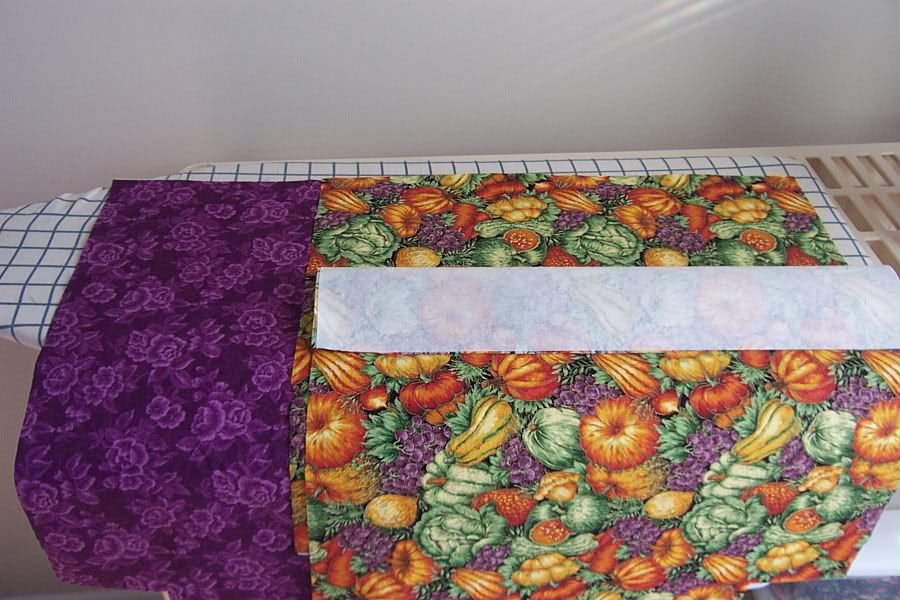
Apply interfacing to wrong sides of both lining and outer fabric.
I usually just fuse tack the edges b/c it is faster and easier (ie. I am LAZY ;-)).
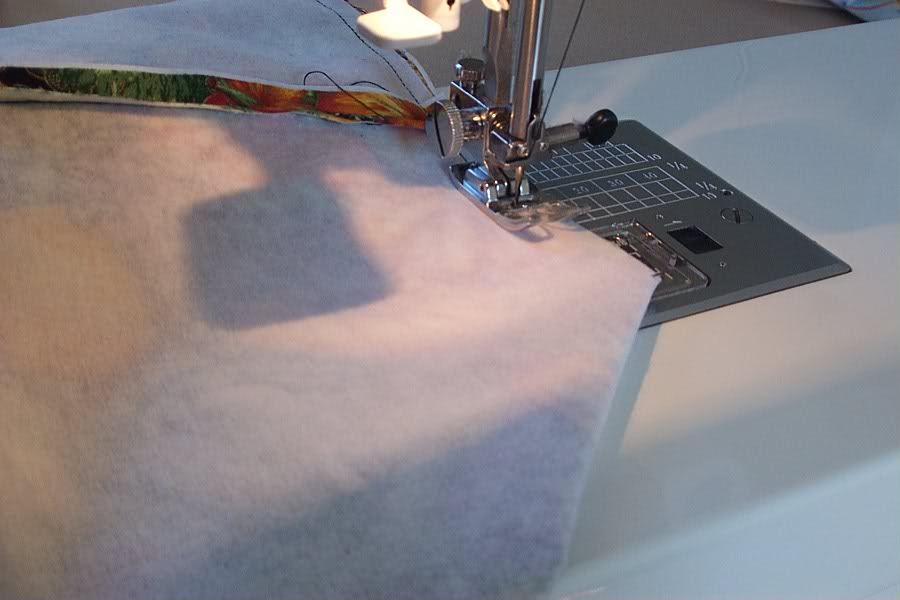
Sew side seams on both lining and outer fabric. Press seams open.
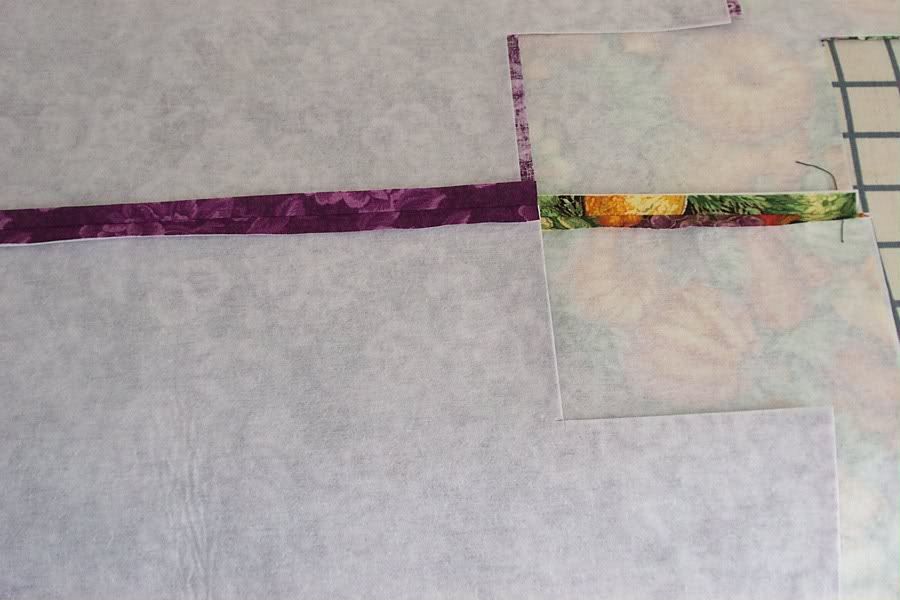
Stitch bottom seam on both the lining and outer fabrics.
Press seams open the best you can. It's difficult to do this without a sleeve board.

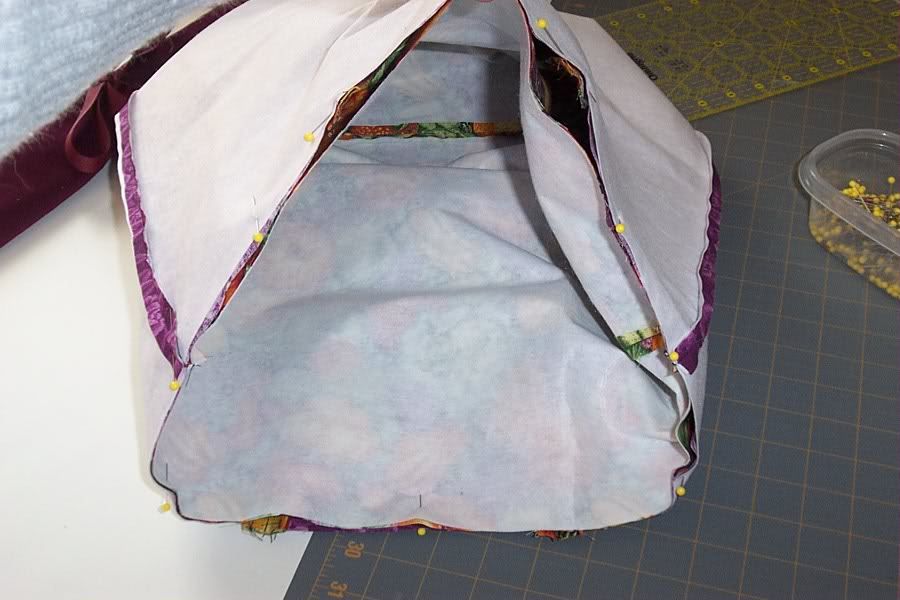
Fold so raw edges of box corner are aligned and pin seam.
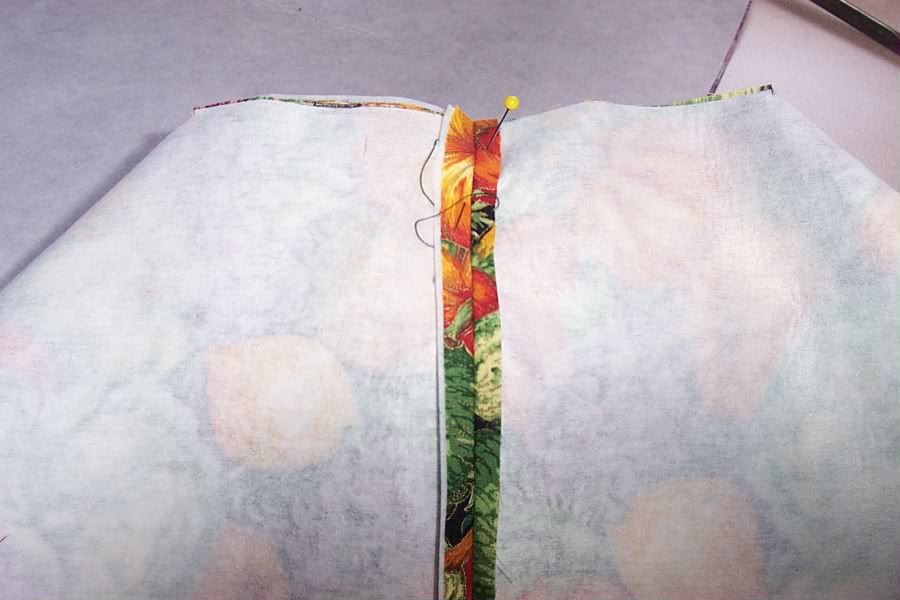
Sew across to form boxed corner. Repeat for all corners.
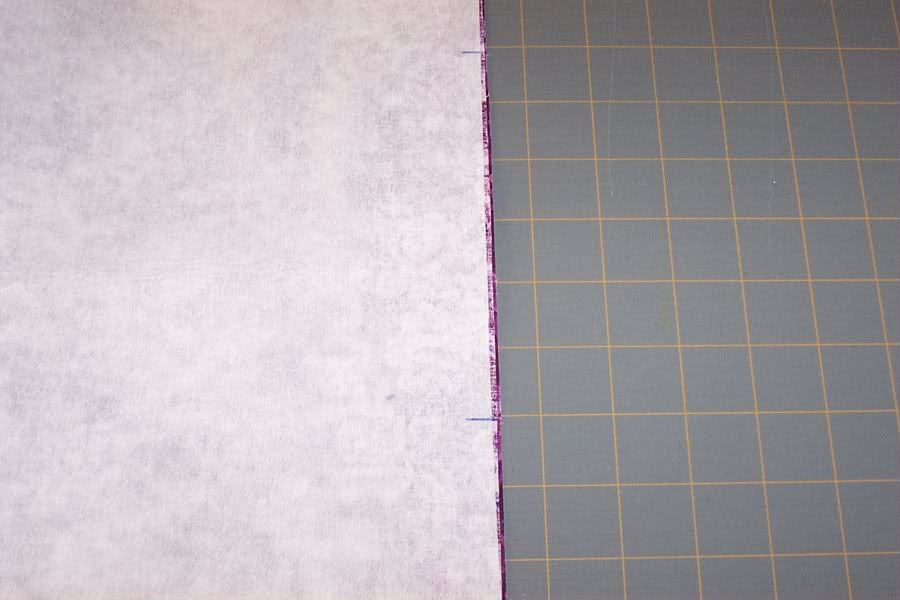
Mark handle placement - 6" in from side of bag (not the seam).
Pin handles by aligning center topstitching with placement mark.
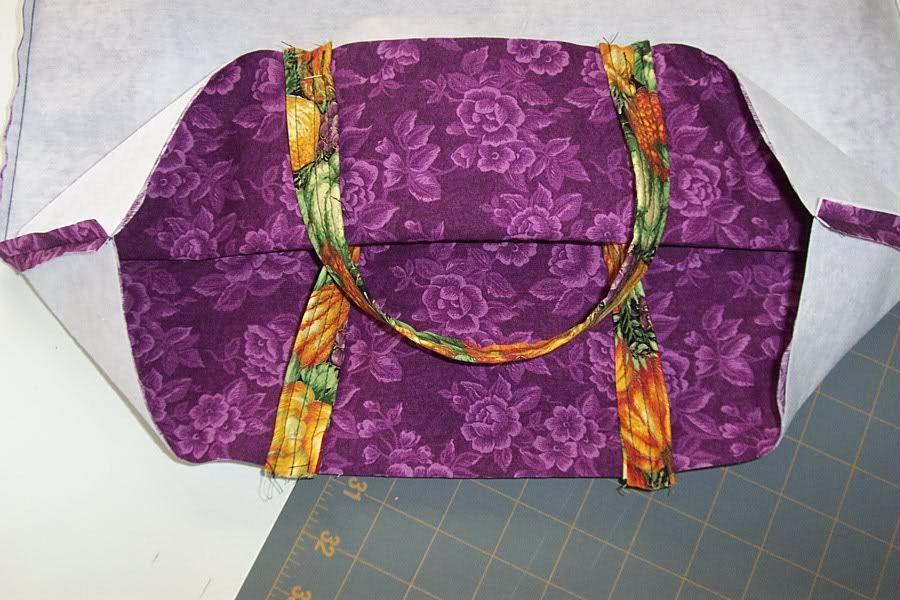
Slip bag outer into bag lining so that right sides are together.
Pin liberally (or not at all :))
Stitch together, remembering to leave an opening for turning.
I like to leave it between the handles on one side.
Backstitch copiously at the beginning and end.

Oh look!! A bag is about to be born. :)

This doesn't look like a bag???

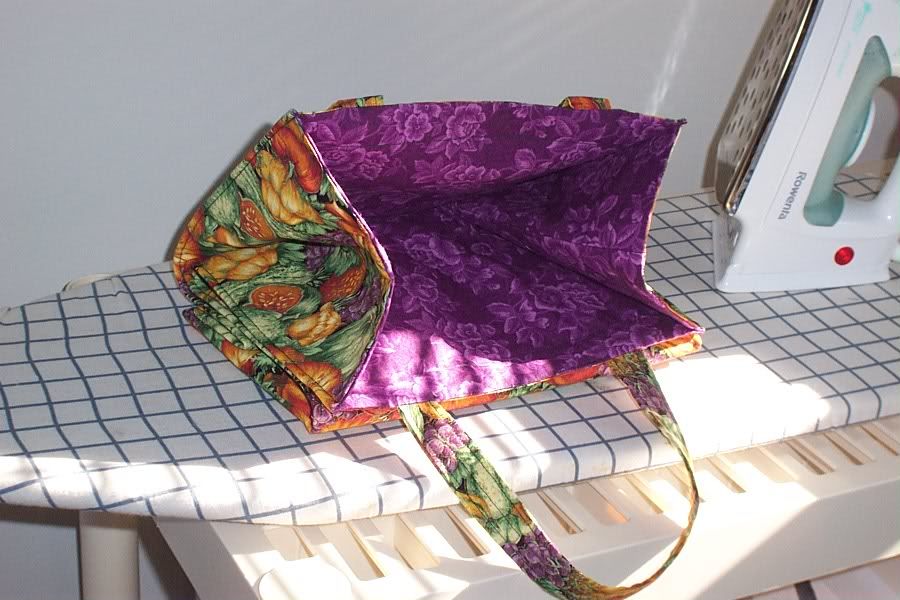
Tuck lining into bag by sticking your hands far into the corners.

Press top edge of bag well.

Topstitch turning opening closed.

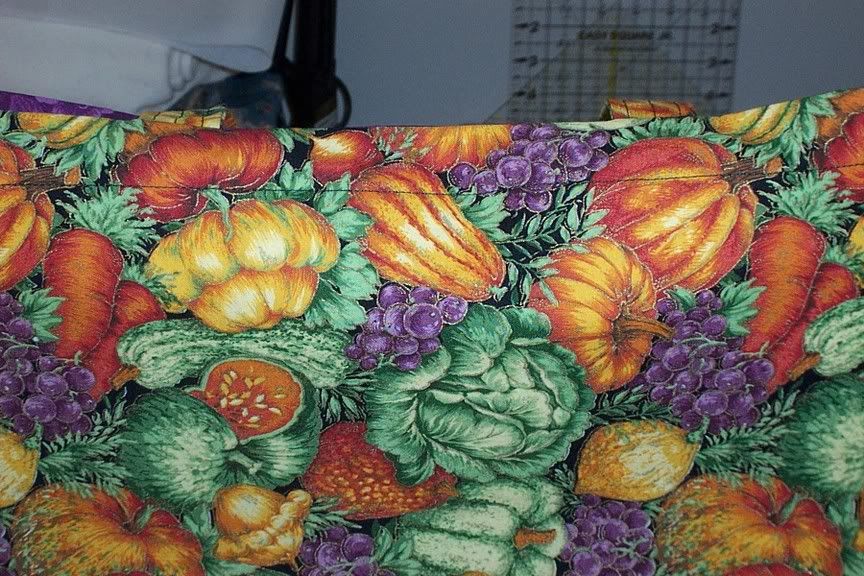
Topstitch 1" from top of bag.
You could also add a solid ribbon accent if you want to make the top of the bag stiffer.
Topstitch close to the folded edge on all four corners.
I always measure (3.5"), pin, press, and sew.
Fabric Grocery Bag - folded
No comments:
Post a Comment